Getting your hands on a new vial of peptides is just the first step. The real success of any research or therapeutic protocol hinges on what happens next. Proper peptide handling isn't just a suggestion—it's the bedrock of achieving stable, pure, and biologically active results.
Think of a peptide like a delicate, precision instrument. If you handle it carelessly, it quickly loses its tune and becomes useless. Seemingly small mistakes in how you store, prepare, or use it can cause irreversible damage, leading to skewed data and wasted resources.
Why Your Peptide Handling Protocols Matter
The moment you receive your peptide vial, the clock starts ticking. Following strict handling guidelines is non-negotiable if you want accurate, repeatable outcomes. These molecules are incredibly fragile and can be easily compromised by a whole range of environmental factors.
The Science of Peptide Fragility
Peptides are short amino acid chains held together by delicate peptide bonds. This structure makes them highly susceptible to several types of degradation that can completely wipe out their intended effect.
- Oxidation: Something as simple as exposure to air can modify sensitive amino acids like methionine or cysteine, which alters the peptide's shape and kills its function.
- Hydrolysis: Even a tiny bit of moisture can be a big problem. Opening a vial while it's still cold, for instance, can cause condensation that breaks peptide bonds and fragments the molecule.
- Aggregation: If you mix a peptide too aggressively or put it through repeated freeze-thaw cycles, the molecules can clump together, rendering them insoluble and inactive.
Adhering to proper protocols isn't just about best practices; it's a fundamental part of scientific integrity and smart resource management. It saves you time, money, and the frustration of dealing with compromised samples.
This isn't just an academic detail—it has huge real-world consequences. In clinical and pharmaceutical settings, improper handling can have serious implications. Peptides are a fast-growing class of therapeutics, with approximately 9% of new FDA-approved drugs from 2016 to 2023 being peptide-based. The global peptide therapeutics market was valued at around $43.45 billion in 2023, a figure that drives home the medical and financial importance of keeping these molecules intact. You can find more details on peptide regulatory considerations and market growth.
Core Pillars of Peptide Management
To help you navigate these challenges, we can break down peptide handling into a few essential stages. Mastering each one is key to ensuring your peptides stay potent and effective from the moment they arrive until their final use.
The table below outlines the core pillars of peptide management, giving you a clear roadmap for what to focus on at each step.
| Handling Stage | Primary Goal | Key Considerations |
|---|---|---|
| Storage | Preserve Long-Term Stability | Temperature control (-20°C/-80°C), protection from light and moisture. |
| Reconstitution | Create a Stable, Active Solution | Choosing the correct sterile solvent, using gentle mixing techniques. |
| Daily Handling | Minimize Degradation & Contamination | Avoiding freeze-thaw cycles, using proper labware, preventing moisture ingress. |
| Disposal | Ensure Safety and Compliance | Following established protocols for biohazardous or chemical waste. |
Understanding these pillars is the first step toward mastering the peptide handling guidelines that are essential for producing reliable and meaningful outcomes.
Mastering Peptide Storage for Maximum Stability
Proper storage is your first and most critical line of defense in keeping your peptides intact. Honestly, if you get this part wrong, everything that follows is compromised from the start. Think of it as setting a solid foundation; without it, the whole structure is unstable. Both the lyophilized (powder) and reconstituted (liquid) forms have very specific needs you have to meet to stop them from degrading.
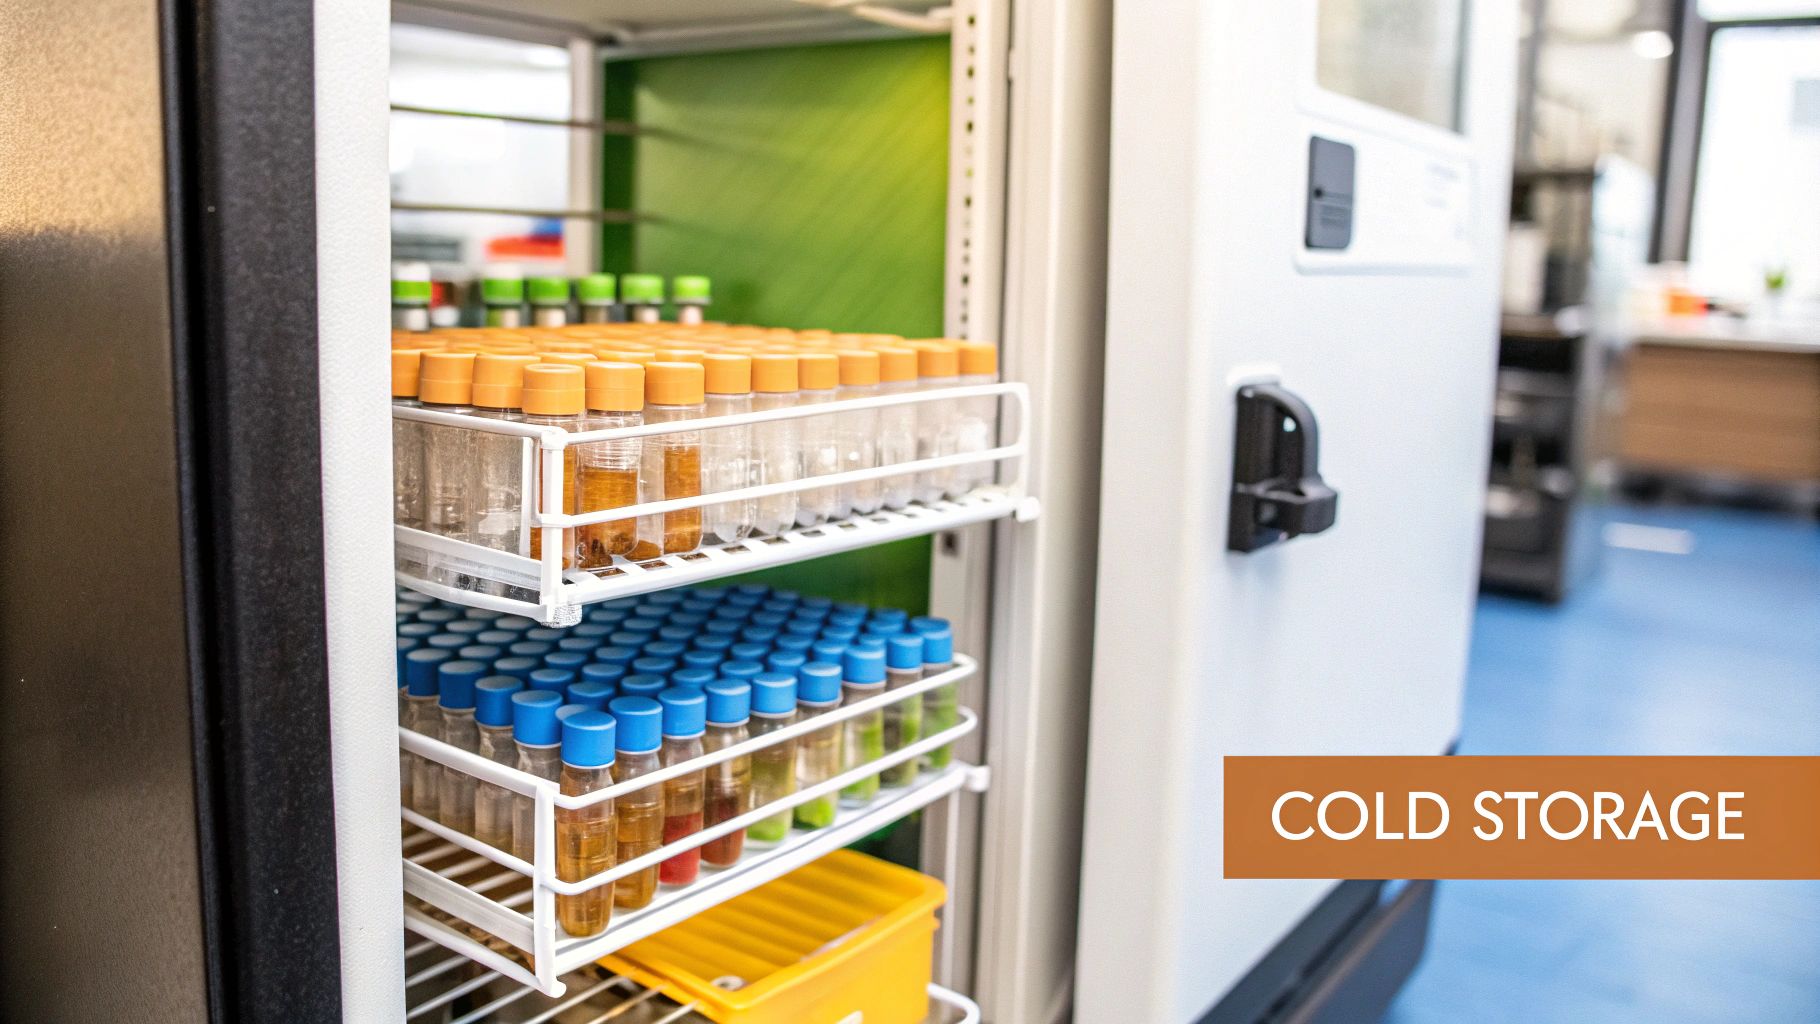
Let's walk through a common scenario: your peptide shipment just arrived. The temptation to rip it open and take a look is real, but this is where patience pays off. Before you do anything else, get those sealed vials into their proper long-term storage spot. This one small action is vital for preserving the peptide's structure and its biological activity.
Storing Lyophilized Peptides
Lyophilized peptides show up as a dry powder, a form that makes them quite stable. But that stability completely depends on keeping them at the right temperature and away from any moisture.
For long-term viability, you have to store these powders in a cold, dry place. The gold standard is keeping lyophilized peptides at –20 °C or, for the absolute best shelf life, at –80 °C. This low temperature dramatically slows down any chemical reactions that could cause degradation, keeping the molecules inert until you’re ready to mix them.
It's also crucial to shield them from light, as it can damage certain amino acids. A simple but effective trick is to just store the vials inside their original box or a dedicated freezer-safe container.
The Challenge with Reconstituted Peptides
The moment you add a solvent, everything changes. The peptide becomes much more fragile. A reconstituted peptide in a liquid solution is nowhere near as stable as its powdered counterpart, which is why meticulous handling is non-negotiable from this point on.
The stability of a peptide solution is heavily influenced by its specific amino acid sequence. Some amino acids are just naturally unstable and prone to breaking down. It's a known fact that proper storage and handling drastically affect how long a peptide remains usable, with most solutions staying stable for only up to one week at 4 °C.
This window can be even shorter for peptides containing amino acids like asparagine (N), glutamine (Q), cysteine (C), methionine (M), and tryptophan (W), which create weak points in the structure.
This is exactly why preparing an entire vial at once is usually a bad idea unless you plan to use it all right away. The smartest approach is to create single-use aliquots.
Key Takeaway: Never assume all peptides behave the same way in a solution. Always look at the specific amino acid makeup when you're planning your storage timeline. A peptide rich in tryptophan, for example, will have a much shorter active life than one without it.
Avoiding Freeze-Thaw Cycles with Aliquoting
The single biggest threat to a reconstituted peptide is the dreaded freeze-thaw cycle. Each time you freeze and then thaw a solution, tiny, sharp ice crystals form. These crystals can literally shred the peptide chains, causing them to clump together and lose their biological function.
Aliquoting is the solution. This simple process involves dividing your main reconstituted stock into smaller, single-use portions that you can store frozen.
Here’s a practical way to do it:
- Calculate Your Needs: Figure out exactly how much peptide you need for a single use or experiment.
- Prepare Aliquots: After you've reconstituted the peptide, use a precise pipette to dispense these single-use volumes into low-protein-binding microcentrifuge tubes.
- Label Everything: This is so important. Clearly label each little tube with the peptide's name, its concentration, the solvent you used, and the date you made it. This prevents mix-ups and makes sure you’re always using viable material.
- Flash Freeze: Snap-freeze the aliquots before you stick them in the –20°C or –80°C freezer for storage.
By using this method, you only ever thaw the exact amount you need for one experiment, leaving the rest of your stock safely frozen and protected from those damaging freeze-thaw cycles. Once your aliquots are prepped, knowing how to calculate your next steps is crucial. For clear, detailed guidance, check out our guide on peptides mixing and dosage instructions, which will give you the clarity you need for accurate application. This small bit of prep work upfront saves the quality of your expensive materials and ensures your results are reliable down the line.
A Practical Guide to Peptide Reconstitution
Alright, let's talk about one of the most critical steps in working with peptides: turning that little puck of lyophilized (freeze-dried) powder into a stable, usable solution. This process, known as reconstitution, is where a lot of people go wrong. It’s more than just dumping some water in a vial; it's a careful procedure where science and technique come together.
Get it wrong, and you can end up with a useless, clumpy mess. A bad solvent choice or aggressive mixing can cause the peptide to degrade or clump together (aggregate), destroying its biological activity before you even get started. The goal here is simple: create a perfectly clear, stable solution while keeping the peptide intact and fully functional.
Choosing the Right Solvent for Your Peptide
The single most important decision you'll make during reconstitution is picking the right solvent. This isn't a random choice—it's dictated entirely by the peptide's unique amino acid sequence.
A peptide's solubility all comes down to its overall polarity. You can get a pretty good idea of what you need just by looking at its amino acid makeup.
- Basic Peptides: If the sequence is loaded with basic amino acids like Arginine (R), Lysine (K), or Histidine (H), it carries a net positive charge. These peptides usually dissolve well in a slightly acidic solution, like a 10-30% acetic acid solution.
- Acidic Peptides: On the flip side, if the peptide is rich in acidic amino acids like Aspartic Acid (D) or Glutamic Acid (E), it has a net negative charge. For these, a slightly basic solution like dilute ammonium bicarbonate is your best bet.
- Neutral or Hydrophobic Peptides: For peptides without a strong charge or those packed with hydrophobic (water-fearing) amino acids like Valine (V) or Phenylalanine (F), your first move should always be ultra-pure sterile water. If that doesn't work, you might need a tiny drop of an organic solvent like DMSO or acetonitrile to help "wet" the powder before adding your sterile water or buffer.
Always start with the gentlest option first. Begin with sterile water. If the peptide just sits there, then you can move on to a more specific acidic or basic solution based on its properties. This step-by-step approach is the best way to avoid damaging the peptide with a solvent that’s too harsh.
This decision tree gives you a quick visual of the initial steps.
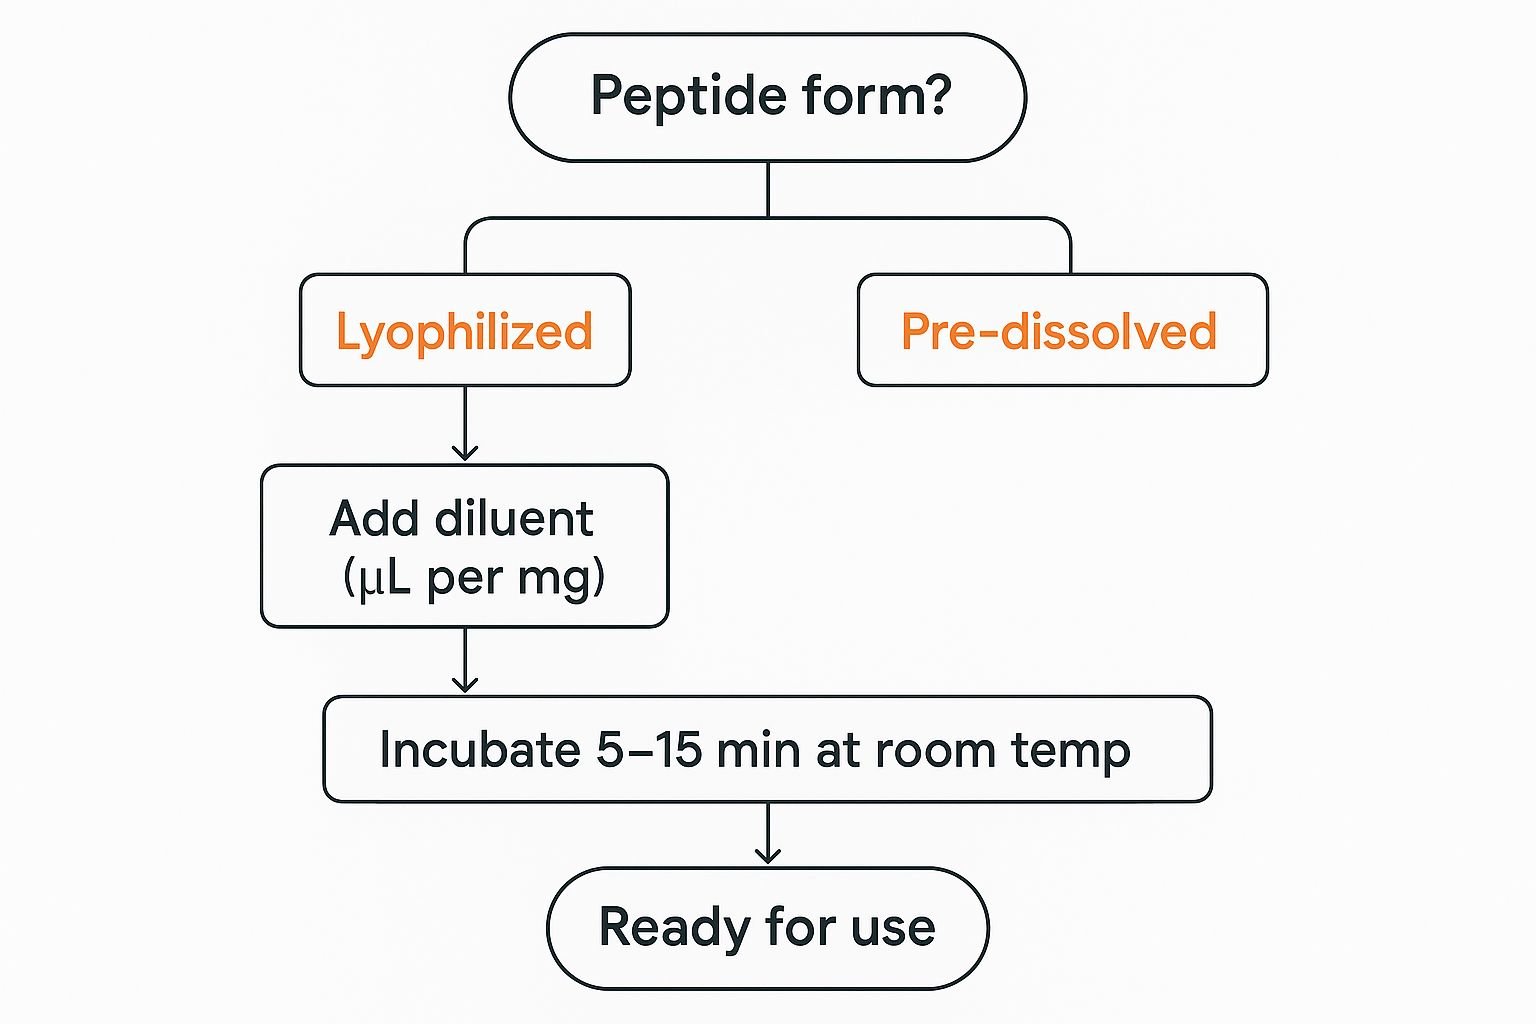
As the infographic shows, whether your peptide is pre-dissolved or in a powder form, careful preparation is the key to getting it ready for use.
Proper Mixing Techniques to Avoid Damage
How you mix the solution is just as important as the solvent you use. Peptides are delicate structures. Shaking them too aggressively can literally tear them apart or cause them to stick together in useless clumps.
Here's a critical tip: almost never vortex a peptide solution. The intense shearing forces from a vortex mixer are a surefire way to denature the peptide, destroying its three-dimensional shape and, with it, its function.
Instead, think gentle. Follow this protocol:
- Introduce the Solvent: Add the measured amount of your solvent slowly. Let it run down the inside wall of the vial instead of squirting it directly onto the powder.
- Let It Sit: Give the vial a few minutes at room temperature. This allows the powder to absorb the solvent and start dissolving on its own without any force.
- Gentle Agitation: If the peptide needs a little help, gently swirl the vial or roll it between your palms. For really stubborn powders, a brief sonication in a water bath can work wonders, but use it sparingly.
I can't stress this enough: always use high-purity, sterile solvents. Using tap water or non-sterile buffers is asking for trouble. You risk introducing bacteria or, even worse, proteases—enzymes that specifically chew up and destroy peptides. This can contaminate your entire batch from the get-go.
Once you have a perfectly clear and stable solution, the next step is figuring out the right dose. Our comprehensive peptide dosage guide walks you through the calculations for accurate and effective use.
Taking the Next Step: Managing Purity and Immunogenicity
Once you've nailed down the basics of storage and reconstitution, it's time to tackle a more advanced—but absolutely critical—part of peptide handling: managing purity and the risk of an unwanted immune response. This goes beyond just keeping your peptides from degrading. Every single time you handle a vial, you're also on the front line of defense, working to keep it pure and safe for its ultimate purpose, especially if it's going into a biological system.
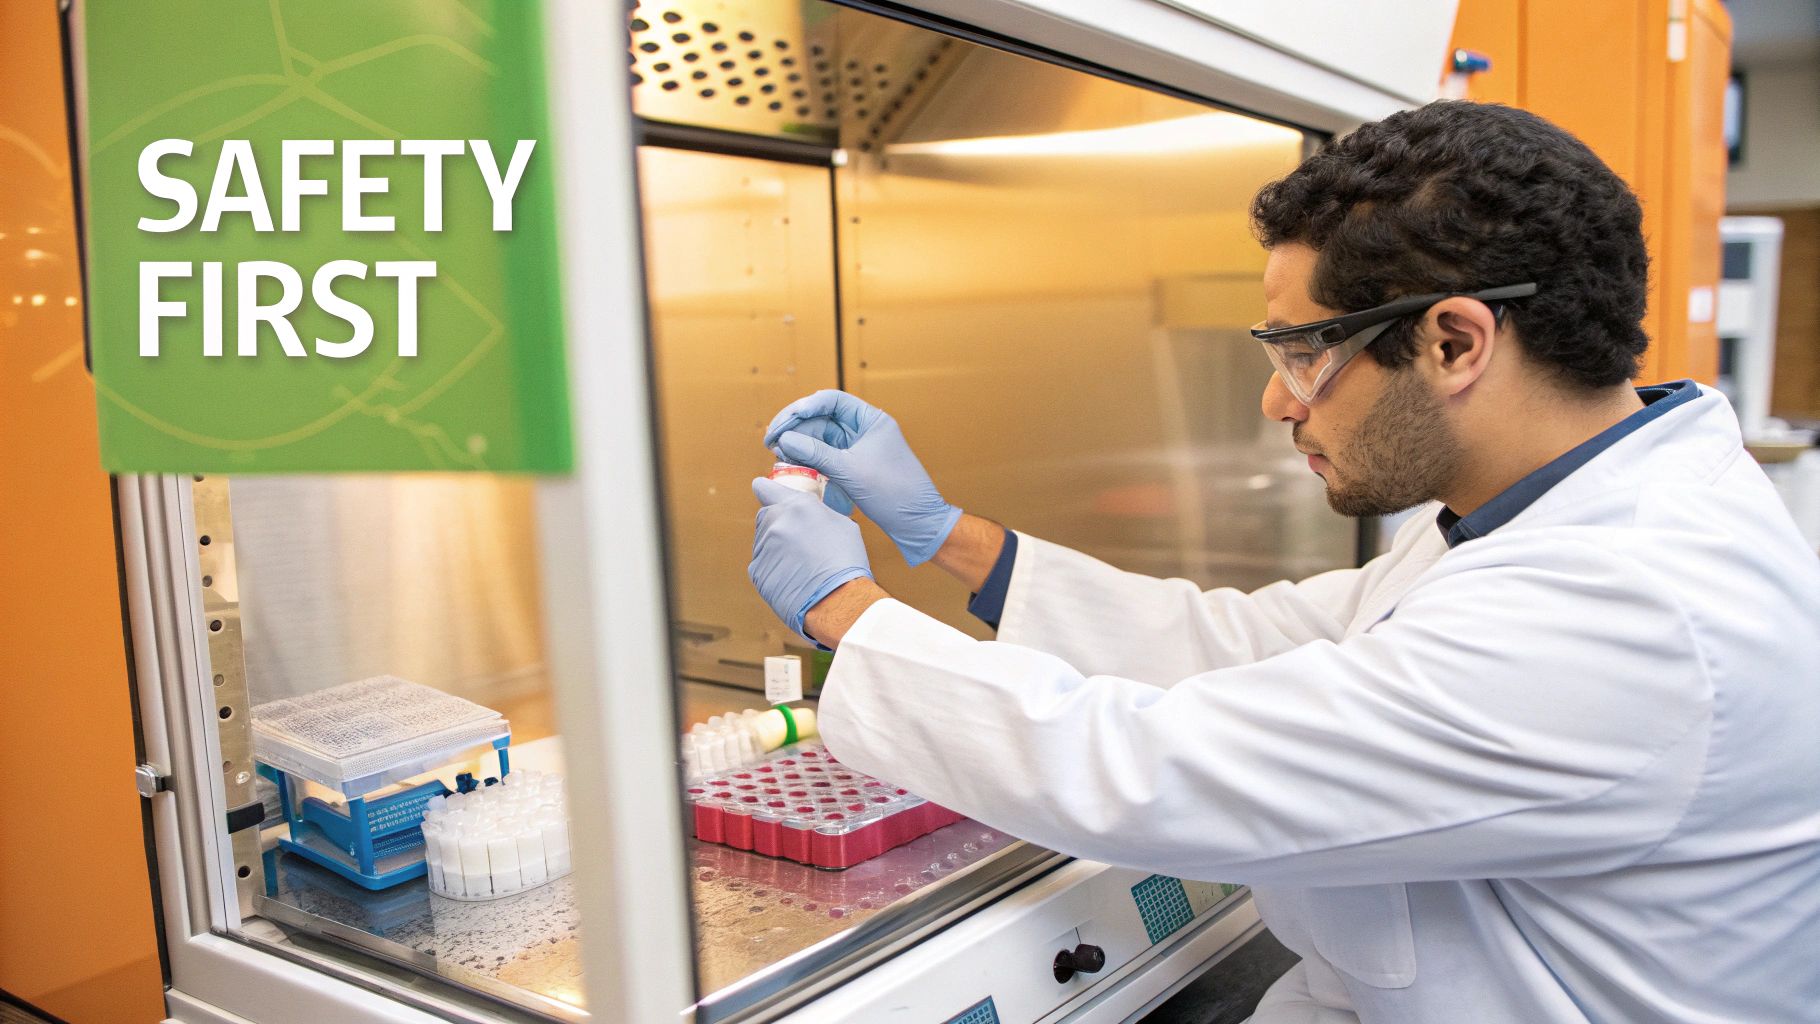
It’s easy to think that only big mistakes matter, but even tiny, seemingly harmless slip-ups can introduce contaminants. We’re talking about things like airborne dust, microbes, or even trace chemicals left on labware that wasn't properly sterilized. These impurities can mess with your results, or worse, they can chemically modify the peptide itself, changing its structure and how it works. This sets off a domino effect that ruins both the peptide's effectiveness and its safety.
The Hidden Danger of an Immune Overreaction
Whenever a foreign substance gets into the body, the immune system fires up to see if it's a threat. That’s a good thing—it’s how we stay healthy. But when that response is triggered by a therapeutic compound like a peptide, it becomes a serious problem known as immunogenicity.
This unwanted immune flare-up can lead to the creation of anti-drug antibodies (ADAs). These are custom-built antibodies designed with one mission: to find and destroy the peptide you're administering.
The development of ADAs isn't some rare, fringe issue. It's a central challenge in creating safe and effective peptide therapies, and it can lead to anything from total treatment failure to serious adverse health events.
When your body starts making ADAs, the consequences can range from frustrating to downright dangerous:
- Neutralization: The ADAs latch onto the peptide and disable it, making it useless before it can even do its job.
- Altered Clearance: Your immune system might start clearing the peptide out of your body way too fast, dramatically shrinking its window of opportunity to work.
- Reduced Efficacy: With the peptide being neutralized or cleared too quickly, the result is simple: it doesn't work as expected.
- Safety Risks: In some cases, this immune reaction can escalate, causing hypersensitivity or other dangerous side effects.
Getting a handle on this risk is paramount. Immunogenicity is a top-tier concern in the world of peptide therapeutics, impacting both safety and effectiveness. To get ahead of these risks, it's vital to start with peptides that have a low potential for causing an immune reaction in the first place. For a much deeper dive into the science, you can explore the research on therapeutic peptide immunogenicity.
How Your Lab Habits Directly Impact Purity
This is where your day-to-day handling protocols become the most important control you have. Every action you take can either protect your peptide's purity or open the door to risk. It’s not about avoiding one catastrophic error; it’s about the cumulative damage from dozens of small oversights.
Think about how these seemingly simple missteps can introduce impurities or modifications that end up triggering an immune response:
- Using Non-Sterile Solvents: Mixing your peptide with a solution that contains bacteria or endotoxins is a surefire way to contaminate it and invite an immune reaction.
- Improper Storage: Letting a peptide cycle through warm and cold temperatures can cause it to clump together, or aggregate. These peptide clumps are often highly immunogenic.
- Exposure to Air and Light: Oxidation doesn't just degrade a peptide; it fundamentally changes its chemical structure, creating a "new" version that the immune system might flag as a foreign invader.
By looking at every step through the lens of maintaining purity, you give yourself the power to protect the integrity of your sample. Your meticulous commitment to proper peptide handling is what ultimately ensures your work is safe and valid, protecting you from unreliable results and potential adverse reactions.
Everyday Lab Practices for Handling Peptides
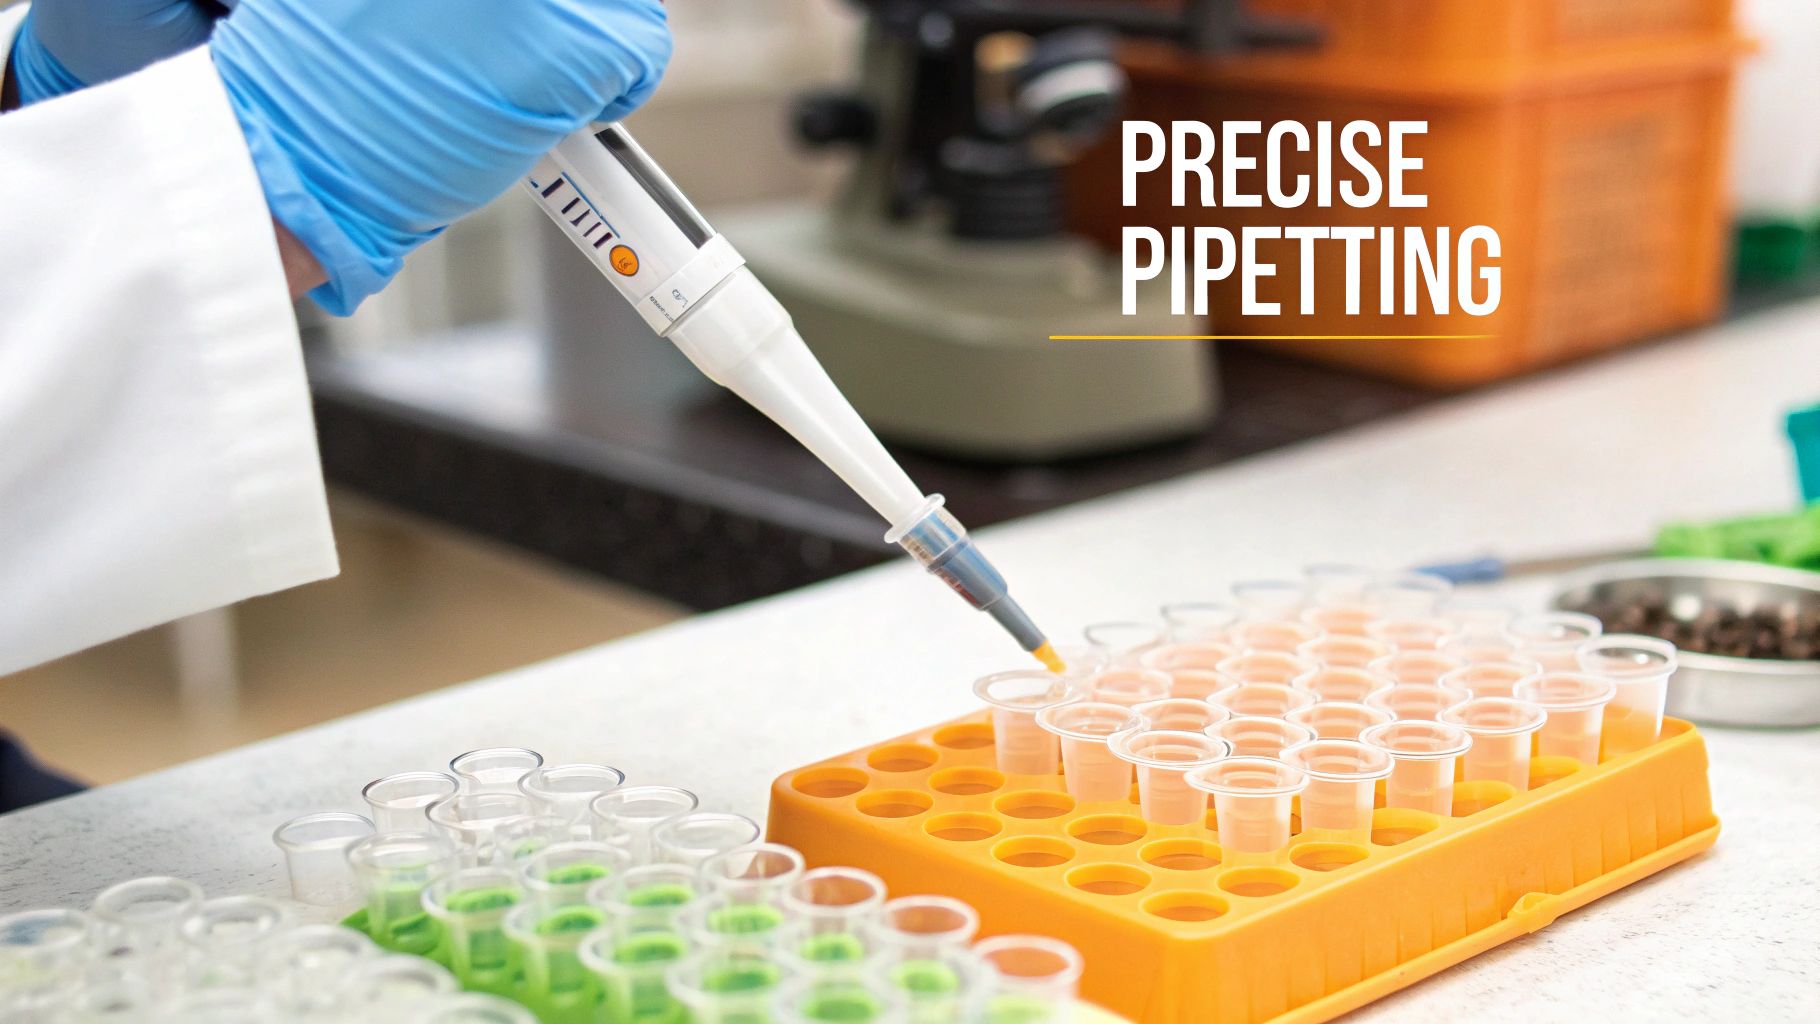
This is where the rubber meets the road. All the theory about peptide chemistry doesn't mean much until you translate it into a consistent daily routine. Success in the lab or clinic is built on the back of small, repeatable actions that shield your materials from degradation and contamination.
We're moving beyond the big-picture concepts to the nitty-gritty habits that separate reliable results from frustrating failures. Think of this as advice from a seasoned colleague, designed to help you sidestep the most common and costly mistakes I've seen over the years.
One of the simplest yet most violated rules involves temperature. Never, ever open a peptide vial straight from the freezer or refrigerator. You have to let it warm completely to room temperature first. Opening a cold vial is an open invitation for condensation to form inside, and that moisture is a direct threat. That tiny bit of water will hydrolyze peptide bonds, effectively snipping your molecules apart and tanking their potency. It's a small act of patience that preserves the integrity of your entire sample.
Choosing the Right Tools for the Job
Your choice of labware is another place where things can go wrong without you even realizing it. Peptides, especially the "sticky" or hydrophobic ones, love to adhere to standard plastic surfaces. This means that with every single transfer, you could be losing a significant percentage of your precious material.
To stop this from happening, make it a non-negotiable rule to use low-protein-binding microtubes and pipette tips. These are specially treated to have an ultra-smooth, repellent surface that drastically minimizes how much peptide sticks to the plastic. This isn't just a minor detail; studies have shown that using standard labware can lead to the loss of up to 30% of a peptide sample. That's enough to completely skew your concentrations and compromise your experimental accuracy.
Using the right tools is a foundational part of good peptide handling guidelines. Investing in low-protein-binding labware is a small price to pay to ensure your concentrations are accurate and you aren’t wasting valuable material.
This same mindset applies to measurement. When you're working with small or viscous volumes, pipetting accurately can be a real challenge. If you have access to one, a positive displacement pipette is your best friend, as it avoids issues with surface tension. If you're using a standard air displacement pipette, learn the "reverse pipetting" technique. This method improves accuracy with thick or sticky liquids by aspirating more than you dispense, leaving the excess in the tip.
Minimizing Environmental Exposure
Peptides are divas—they're incredibly sensitive to their surroundings. Exposure to air and light can cause irreversible damage, particularly to certain amino acids. Oxygen in the air can oxidize residues like methionine and cysteine, while UV light can degrade tryptophan, rendering your peptide useless.
To fight this, get into these simple but effective habits:
- Work Quickly: When a vial is open, be efficient. Perform your necessary actions and then cap it. Minimize its time exposed to the atmosphere.
- Use Amber Vials: If your peptide is particularly light-sensitive, store your aliquots in amber-colored vials. They are designed to block UV rays.
- Inert Gas Blanket: For extremely sensitive or expensive peptides, it's worth the extra step to backfill the vial with an inert gas like argon or nitrogen before sealing it for storage. This displaces the oxygen and creates a protective, non-reactive atmosphere.
These steps are fundamental to ensuring the peptide therapy is safe and effective, as they directly preserve the chemical structure required for biological activity. Maintaining this structure isn't just about getting good results; it's a matter of safety and predictability in any application.
The Unforgiving Importance of Labeling
Picture this nightmare scenario: you reach into the freezer and pull out three identical, unlabeled tubes. This is completely avoidable with a disciplined labeling habit. A poorly labeled aliquot is a useless aliquot. Period. It creates doubt, forces you to discard material, and wastes both time and money.
Your labels need to be clear, concise, and comprehensive. Every single aliquot tube must have this essential information, no exceptions:
- Peptide Name: Don't use confusing abbreviations unless they are standardized in your lab.
- Concentration: The exact concentration (e.g., 1 mg/mL).
- Solvent Used: Be specific. Note the buffer or solvent used (e.g., Sterile H₂O, 10% Acetic Acid).
- Date of Reconstitution: The date you prepared the solution.
- Your Initials: This is absolutely critical in any shared lab environment.
Use a fine-tipped, permanent marker that is resistant to both alcohol and freezing temperatures. This simple organizational discipline is one of the most impactful peptide handling guidelines you can adopt. It removes guesswork, prevents catastrophic mix-ups, and builds a foundation of reliability for all your future work.
Of course. Here is the rewritten section, crafted to sound like it was written by an experienced human expert, following all the provided guidelines and examples.
Your Peptide Handling Questions, Answered
Even with the best plan in place, you’re bound to run into practical questions when you’re working with peptides day-to-day. This section is your go-to reference for those "what if" moments, giving you straightforward answers based on real lab experience. It’s all about reinforcing good habits and helping you troubleshoot on the fly.
What Should I Do If My Peptide Won't Dissolve?
First, take a breath. The worst thing you can do is panic and start dumping in more liquid. That just dilutes your sample and turns your concentration math into a nightmare. A stubborn peptide is usually a chemistry puzzle, not a volume problem.
Start by going back to basics: did you choose the right solvent for the peptide’s amino acid profile? Sometimes the simplest oversight is the culprit. If the solvent is correct, a little bit of gentle warmth can work wonders. Just place the vial in a warm water bath—I find that around 30-40°C is the sweet spot—for a few minutes. Often, that's all it takes.
If it’s still not dissolving, sonication is your next move. A quick, brief burst in an ultrasonic water bath can break up stubborn aggregates without the harsh mechanical stress of vortexing. For those extra-hydrophobic peptides that fight you every step of the way, a final trick is to "wet" the powder with a tiny drop of an organic solvent like DMSO before adding your main aqueous buffer.
Pro Tip: Be careful with organic solvents. A little bit of DMSO can completely throw off certain cell-based assays. Always double-check that your solvent is compatible with whatever you plan to do downstream. It’s a rookie mistake that’s easy to avoid.
How Many Freeze-Thaw Cycles Are Actually Safe?
In a perfect world, the answer is zero. Every time you freeze and thaw your solution, you're giving ice crystals a chance to form, and those sharp crystals can literally shred peptide structures, causing them to clump together and lose potency. This is precisely why preparing single-use aliquots isn't just a suggestion—it's the gold standard of proper peptide handling.
If you absolutely have no other choice but to reuse a stock solution, the absolute maximum I’d ever risk is 3-5 cycles. And that comes with a big asterisk. If your peptide contains fragile amino acids like Cysteine (C), Methionine (M), or Tryptophan (W), it's far more vulnerable and might not even survive that many cycles.
My advice? For any experiment where your results need to be precise and repeatable, don't even think about it. Just use a freshly thawed, single-use aliquot every time. It’s the only way to be certain you're working with the peptide at its full, intended strength.
Is My Peptide Ruined If It Arrived at Room Temperature?
This is probably one of the most common worries I hear, but you can relax. In almost every case, your peptide is completely fine. In their dry, lyophilized powder form, peptides are incredibly tough and can easily handle ambient temperatures for the few days it takes to ship them.
The real danger during shipping isn't the heat; it's moisture. As long as the vial’s seal is intact and no moisture has crept in, the peptide's integrity is safe. The whole point of lyophilization is to create a product stable enough for transport.
When your package arrives, the protocol is simple and non-negotiable:
- Give the vial a quick visual check to make sure the seal is secure.
- Don't open it.
- Get it straight into its long-term home in a -20°C or -80°C freezer.
Only take the vial out and let it come to room temperature right before you're ready to reconstitute it. This crucial step prevents condensation from forming on the powder when you open it. Follow this receiving procedure every time, and you’ll start your work with a viable, potent product.
Ready to apply these principles with confidence? At Elite Bioscience, we provide high-quality, third-party tested therapies with the clear guidance you need for safe and effective use. Explore our tailored solutions and elevate your health from home. https://elitebioscience.co


