

Starting your at-home TRT journey is a big step, but it’s one that puts you firmly in control of your own health. For many guys, the idea of self-injection sounds intimidating at first. Let's be honest, it's not something most of us ever thought we'd be doing.
However, once you get the hang of it, it quickly becomes a simple, routine part of your week. This guide is here to walk you through it, step by step, so you can feel confident from day one.
Starting Your At Home TRT Journey
Making the decision to manage your Testosterone Replacement Therapy (TRT) at home is empowering. It puts you in the driver’s seat. While the thought of a testosterone self-injection might seem a bit daunting, with the right guidance, it’s a skill you can master quickly.
There are good reasons this approach is so popular. You get to skip the constant trips to the clinic, which makes fitting your treatment into a busy life much easier. That convenience, along with the potential cost savings, makes it a practical choice for long-term therapy.
In fact, self-injection is the preferred method for a lot of guys on TRT. One study found that 52.5% of individuals on TRT chose injectable testosterone over other options like gels or pellets, mainly because of its effectiveness and ease of use. You can explore the research on patient preferences here.
Your Healthcare Provider Is Your Partner
This isn't something you figure out on your own. Your healthcare provider is your most important partner in this process. They're the ones who determine your exact prescription and dosage, which is tailored to your specific lab results and health needs. Before you even think about your first injection, they'll give you detailed training to make sure you're comfortable and know exactly what you're doing.
This partnership is built on a few key things:
- Accurate Dosing: Your doctor does the math to figure out the precise amount of testosterone you need to get your levels where they should be, safely.
- Proper Technique Guidance: They will walk you through the entire process, from getting your supplies ready to performing the injection and safely disposing of everything afterward.
- Ongoing Monitoring: Regular follow-ups and blood work are part of the deal. This is how you and your doctor track your progress and make any necessary tweaks to your treatment plan.
Your job is to follow their instructions to the letter. Their job is to provide the medical expertise that makes your therapy both safe and successful. This teamwork is what makes at-home TRT work so well.
The goal here is to take all the mystery out of the testosterone self-injection process. We're going to break it all down into simple, clear steps. Any apprehension you might have will be replaced with the confidence you need to take charge of your therapy.
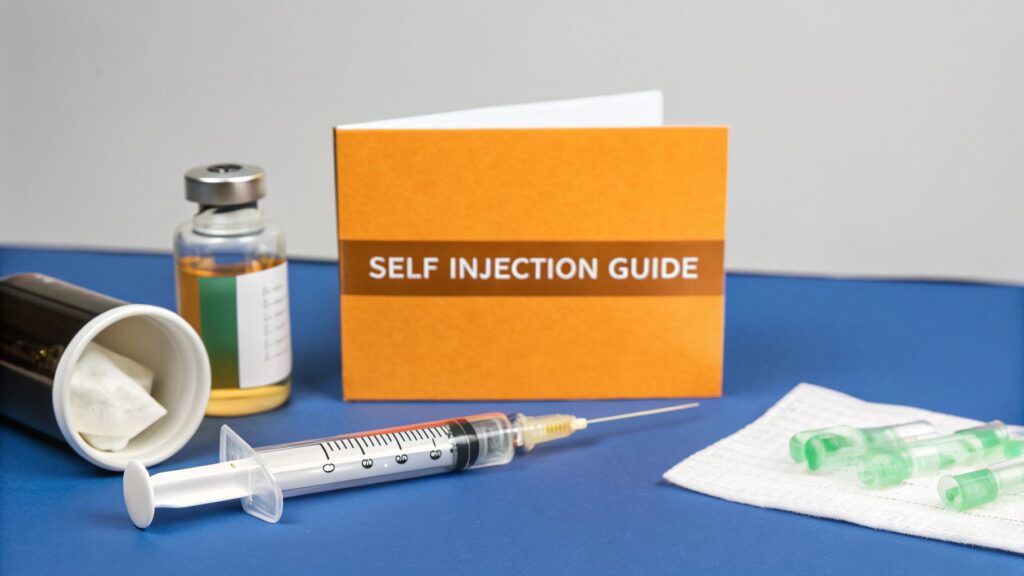
Preparing Your Supplies for a Safe Injection
Before you even think about the injection itself, getting your station set up is the single most important step. Think of it like a chef prepping their ingredients before starting a recipe; a clean, organized space makes the entire process of a testosterone self-injection safer, smoother, and far less stressful.
The goal here isn't just to have a checklist of items. It's about understanding why each piece matters and creating a rock-solid routine that prevents contamination and builds confidence. First things first, find a clean, flat surface like a disinfected countertop or table. This is your sterile field—nothing goes on it except your injection supplies. Having everything within easy reach means you won't be scrambling mid-process.
Your Essential Testosterone Injection Toolkit
Your prescription will come with a specific set of supplies. Each one has a critical job to do, and using them correctly is non-negotiable for a safe and comfortable injection. Here's a quick rundown of what you'll need and why.
| Item | Purpose | Key Consideration |
|---|---|---|
| Testosterone Vial | Contains your prescribed medication. | Always check the expiration date. The liquid should be clear and free of any floating particles. |
| Two Needles | One for drawing, one for injecting. | The draw needle (18G or 20G) is thicker to easily pull the oil from the vial. The injection needle (23G or 25G) is thinner for a more comfortable injection. |
| Syringe | Holds and measures the testosterone. | Ensure it's the correct size (e.g., 3ml) to accurately measure your dose. |
| Alcohol Prep Pads | Sterilizes surfaces before contact. | You'll need at least two: one for the vial's rubber top and another for your skin at the injection site. |
| Sterile Gauze & Bandage | For post-injection care. | Used to apply light pressure to the site and then cover it to keep it clean. |
| Sharps Container | Safely disposes of used needles. | This is an FDA-cleared container. Never throw used needles or syringes in the regular trash. |
This toolkit contains everything you need for a successful injection. Getting familiar with each item and its role will transform this from an intimidating task into a simple, routine part of your health regimen.
Key Takeaway: The two-needle technique is a game-changer. Using a separate, fresh needle for the injection after drawing the testosterone is crucial. The draw needle gets slightly dulled piercing the rubber vial stopper, and swapping to a sharp, new one makes the injection as smooth and painless as possible.
Once you have all your items gathered and neatly arranged on your clean surface, you've built a repeatable, safe routine. This prep phase is your pre-flight check; getting it right every time makes all the difference.
For a deeper dive into the specifics of the equipment and technique, you can find more details by reading our comprehensive guide on self-administering testosterone injections.
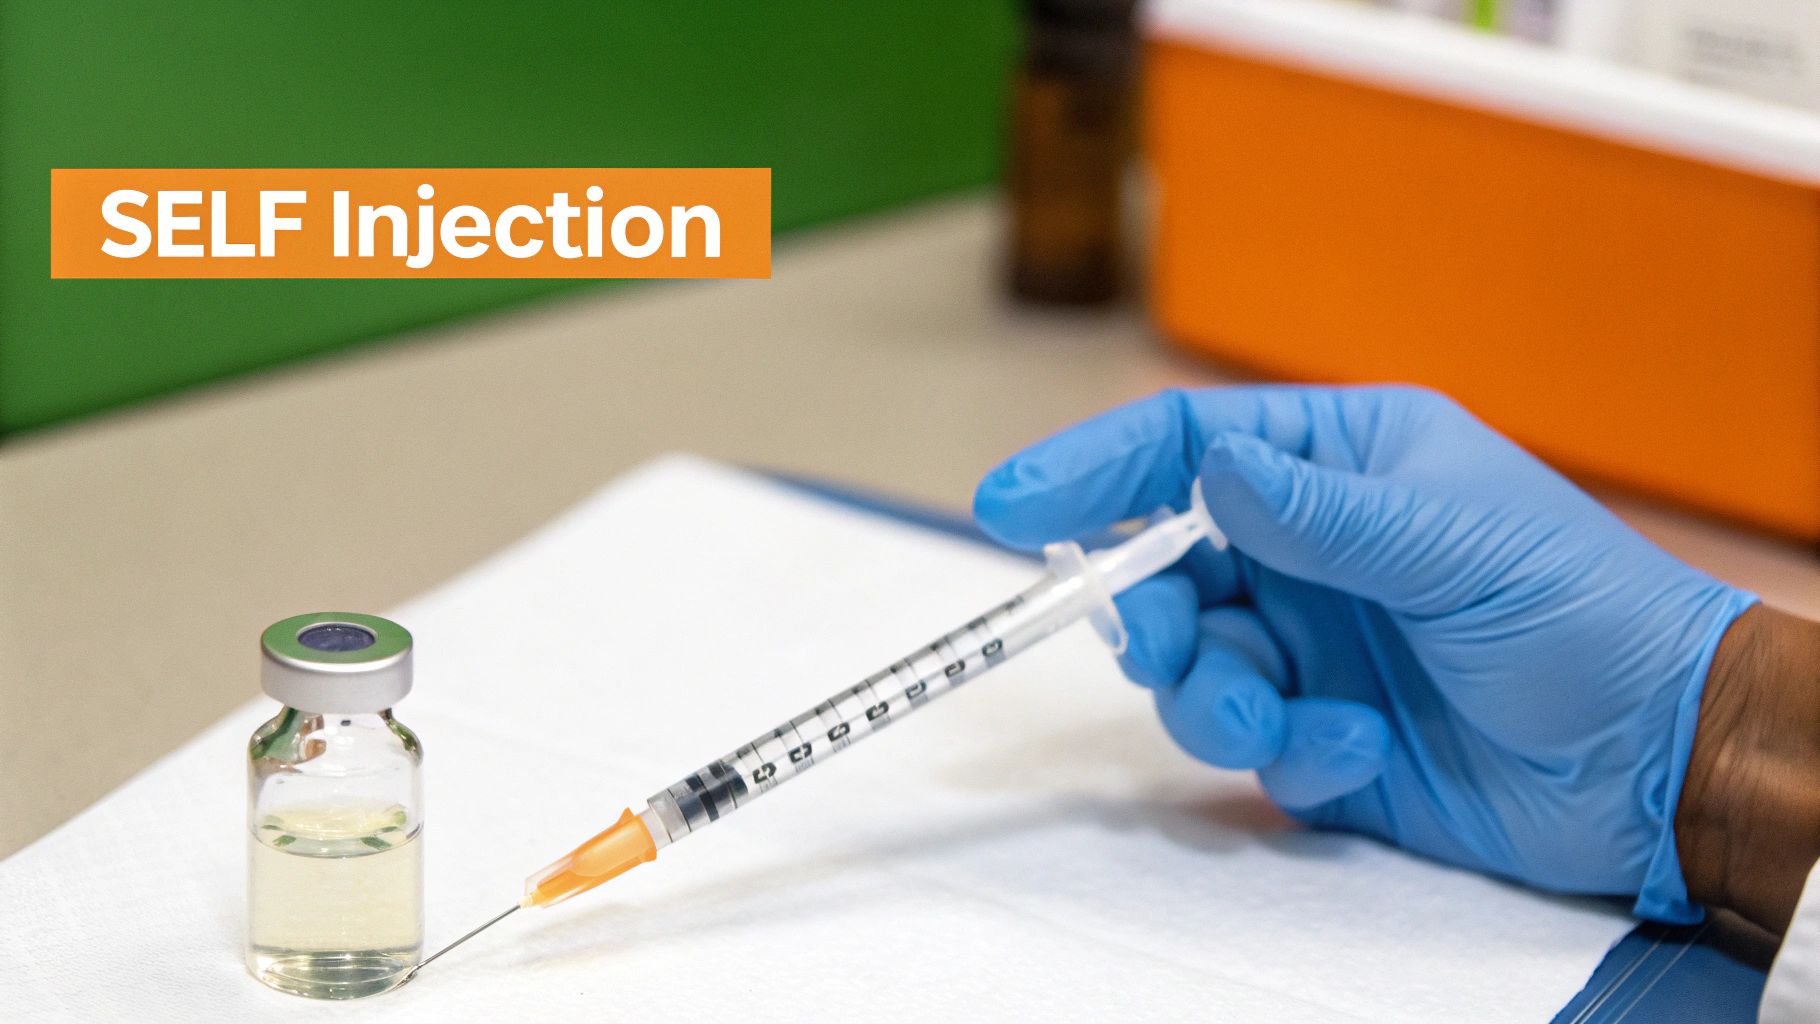
Mastering Your Intramuscular Injection Technique
With your supplies ready and injection site chosen, it's time to get down to the technique itself. This is the part that can feel a bit intimidating at first, but trust me, a clear, repeatable process will make your testosterone self injection feel like second nature in no time. Think of it less like a scary medical procedure and more like a simple skill you're learning to take control of your health.
The key is to move calmly and deliberately. Rushing is where mistakes happen, but a steady hand and a confident approach make the whole process smooth and surprisingly comfortable. Every step is straightforward once you know what you’re doing.
Drawing Testosterone From The Vial
Before you can inject, you have to get your prescribed dose into the syringe correctly. Getting this first action right sets you up for a successful, stress-free injection.
- Sanitize the Vial: Grab a fresh alcohol pad and give the rubber stopper on your testosterone vial a vigorous scrub for 15-20 seconds. This gets rid of any surface germs. Let it air dry completely—don't blow on it or wipe it.
- Draw Air Into the Syringe: Using the thicker draw needle, pull the plunger back to the line that matches your exact dose. For instance, if your dose is 0.5 ml, you'll draw 0.5 ml of air into the syringe.
- Inject Air Into the Vial: Flip the vial upside down. Push the needle through the center of the rubber stopper and inject all the air inside. This equalizes the pressure, making it much easier to draw out the thick, oil-based testosterone.
- Draw Your Dose: With the needle still in the inverted vial, slowly pull the plunger back until you have a little more than your prescribed dose in the syringe. This little trick helps you deal with any small air bubbles.
- Remove Air Bubbles: Gently tap the side of the syringe. You'll see any air bubbles rise to the top. Slowly push the plunger to expel the air and any extra testosterone until the top of the plunger is perfectly lined up with your dose marking.
Following this precise process ensures you get an accurate, bubble-free dose every single time. It's a fundamental part of mastering your routine. The growing acceptance of these treatments is clear; the global testosterone injectable market was valued at over USD 2.16 billion in 2024 and is expected to keep climbing.
The visual guide below breaks down this initial prep for your testosterone self injection, from gathering your tools to drawing up your dose.
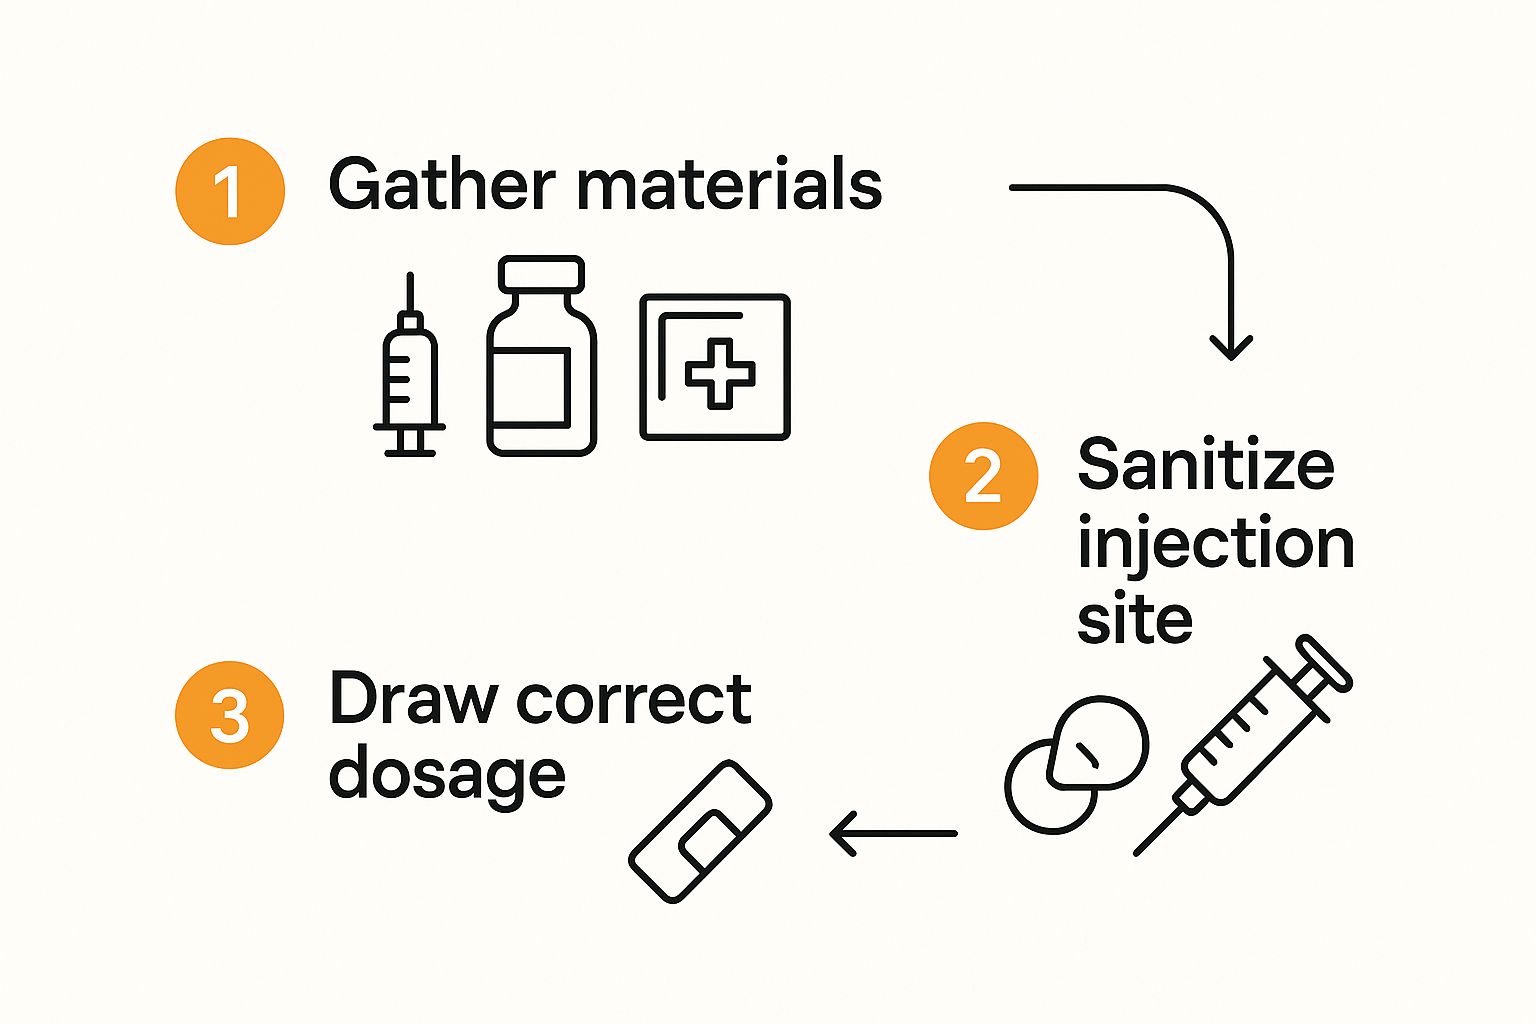
This simple flow—gather, sanitize, draw—is the foundation of a safe injection routine that builds confidence and minimizes risk.
Administering the Injection
Alright, now for the main event. You've prepared your dose, and it's time to administer the injection.
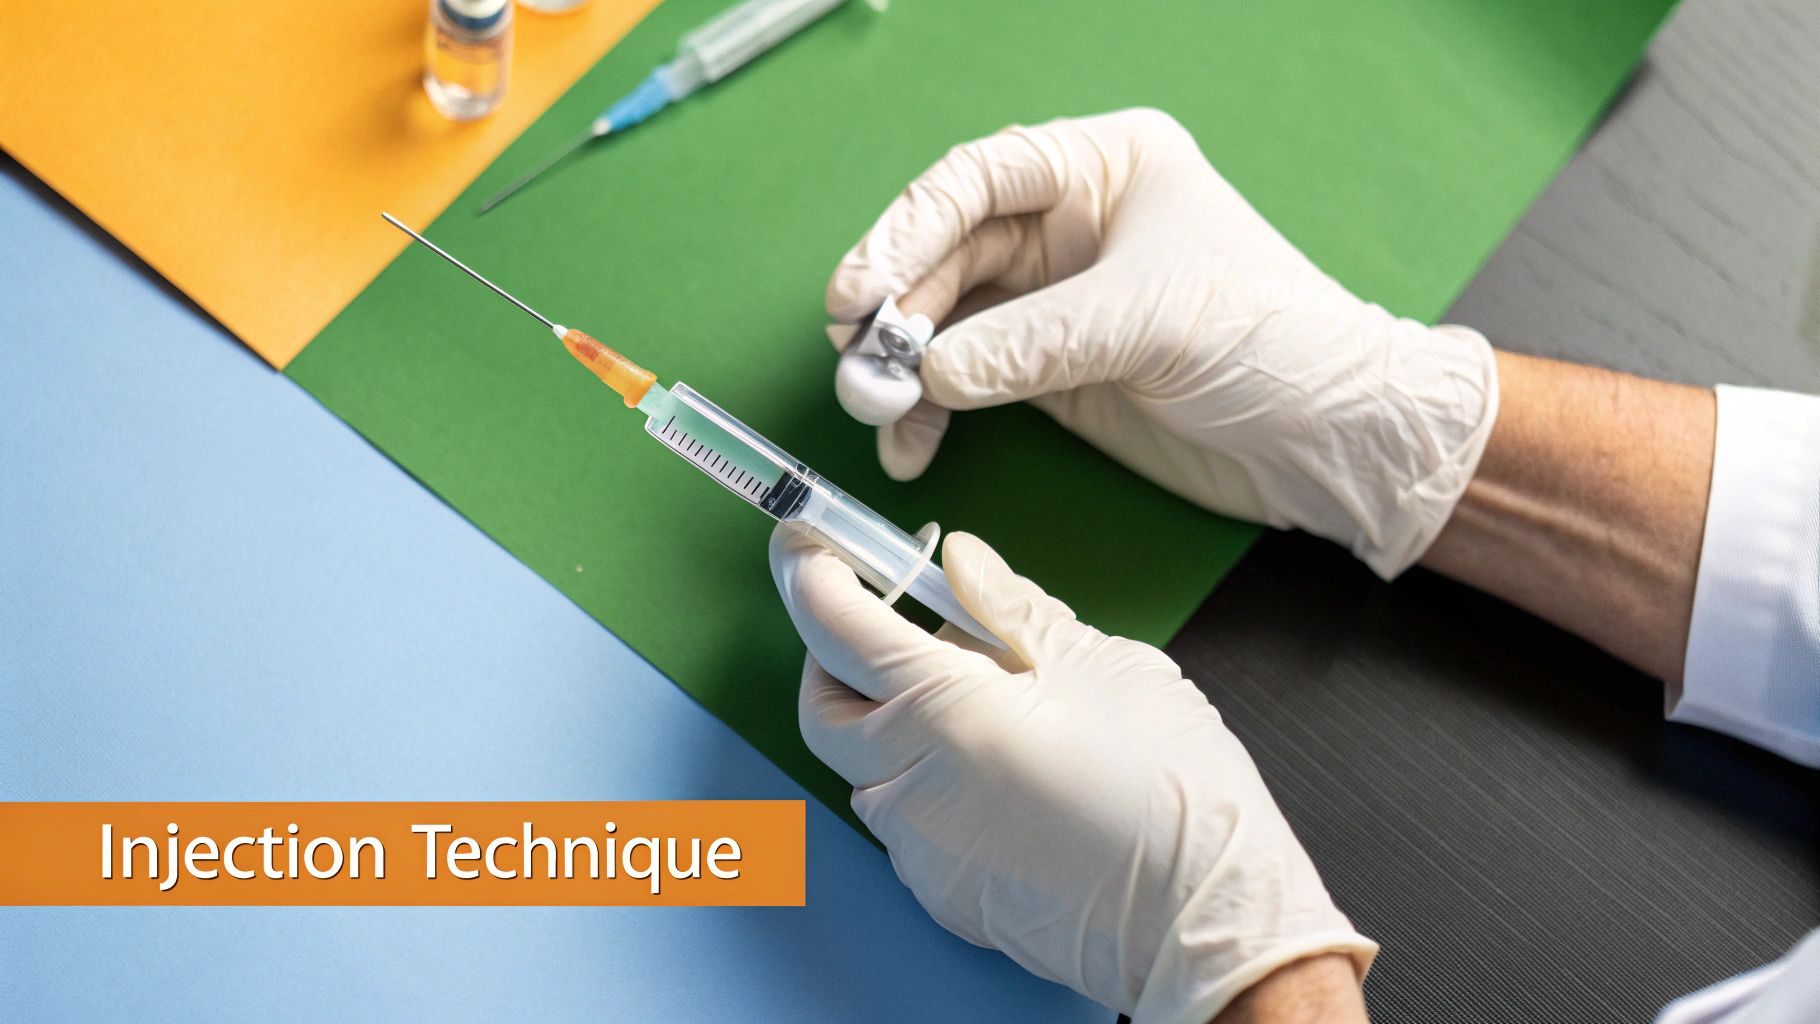
First, carefully twist off the thick draw needle and replace it with the thinner, sterile injection needle. A crucial tip: never touch the new needle with your fingers. Next, take a new alcohol pad and clean your chosen injection site with a circular motion, starting from the center and moving outward. Let it air dry.
Hold the syringe like a dart at a 90-degree angle to your skin. In one quick, smooth motion, insert the needle all the way into the muscle. The movement should be confident, not hesitant—like throwing a dart.
A common question is whether to aspirate—pulling back slightly on the plunger to check for blood. Modern medical guidance often considers this step unnecessary for self-injections into recommended sites like the thigh or glute. Always follow the specific instructions provided by your healthcare provider.
Finally, slowly and steadily push the plunger to inject the testosterone. A consistent pace over about 30 seconds can really help reduce any post-injection soreness. Once the syringe is empty, pull the needle straight out at the same 90-degree angle.
This whole process is a core part of managing your health effectively. For those still weighing different delivery methods, our article comparing testosterone oral vs. injection offers some valuable insights into why injections are so often preferred for their consistency and bioavailability.
Choosing and Rotating Injection Sites
Where you inject your testosterone is just as important as how you do it. Finding a convenient spot and sticking with it might seem easy, but it's a surefire way to run into problems down the road. Using the same area over and over can lead to scar tissue, painful lumps, and even poor absorption of your medication.
Proper site rotation is your best defense. The concept is simple: give each muscle plenty of time to fully recover before you use it again. This small habit makes a huge difference, ensuring your therapy stays smooth and effective for the long haul.
Finding Your Key Injection Sites
For intramuscular injections, you’re looking for large, easy-to-reach muscles. The three go-to sites are the ventrogluteal (hip), deltoid (shoulder), and vastus lateralis (thigh). Getting comfortable finding these spots on your own body is a crucial skill.
-
Ventrogluteal (Hip): Many guys find this to be the safest and most comfortable spot once they get the hang of it. To find it, place the heel of your opposite hand on your hip bone. Point your thumb toward your groin and your fingers toward your head. Now, spread your index and middle fingers to make a "V"—the injection site is right in the soft spot between them.
-
Vastus Lateralis (Thigh): This is usually the easiest place to start. Just look at the top of your thigh and mentally divide it into three equal parts between your knee and your hip. The injection goes into the outer middle third of that area. It's a big, reliable target.
-
Deltoid (Shoulder): This muscle is a bit smaller, so it’s best for lower volumes—think 1 ml or less. Feel for the bony point at the very top of your upper arm. The injection site is about two finger-widths directly below that bone, right in the thickest part of the muscle.
Expert Tip: If you're new to self-injections, start with your thigh (vastus lateralis). It’s the easiest to see and reach, which really helps build confidence before you start trying to locate the hip or shoulder sites.
Deciding which site is best for you often comes down to personal comfort and ease of access. Each spot has its own set of advantages and potential drawbacks.
Comparing Common Intramuscular Injection Sites
| Injection Site | Ease of Self-Injection | Muscle Size | Potential for Discomfort |
|---|---|---|---|
| Vastus Lateralis (Thigh) | Easiest to see and reach, great for beginners. | Large, reliable target for most injection volumes. | Can sometimes cause more post-injection soreness or muscle twitching. |
| Ventrogluteal (Hip) | Requires a bit more practice and flexibility to reach. | Very large muscle, located away from major nerves or blood vessels. | Often considered the least painful option with minimal soreness. |
| Deltoid (Shoulder) | Fairly easy to access, but can be awkward for some. | Smaller muscle, best for volumes of 1 ml or less. | Can be more prone to soreness if the injection volume is too large. |
Ultimately, the best site is the one you can reliably and comfortably access. Learning all three gives you the most flexibility for a solid rotation schedule.
Creating a Simple Rotation Schedule
You don't need a complicated spreadsheet to track your injections. The only goal is to avoid hitting the same exact spot twice in a row. A simple weekly or bi-weekly plan works perfectly.
For example, if you inject once a week, you could set up a basic four-week cycle:
- Week 1: Right Thigh
- Week 2: Left Thigh
- Week 3: Right Hip
- Week 4: Left Hip
This straightforward schedule gives each of the four locations a full month to recover. You can track this in a small notebook, a calendar reminder, or just a note on your phone. Consistency matters far more than complexity.
By faithfully rotating sites for every testosterone self injection, you protect your muscle tissue, ensure your body is absorbing the medication properly, and make the entire process a much more comfortable experience.
Aftercare and Safe Sharps Disposal

You’re not quite finished once the needle is out. The final steps—what you do right after the shot and how you get rid of your supplies—are just as critical as the injection itself. Taking these last actions seriously is what separates a sloppy routine from a safe and effective one.
The moment you withdraw the needle, grab a piece of sterile gauze and apply light pressure to the spot. It's totally normal to see a tiny drop of blood or even a little bit of the testosterone oil. Don’t worry about it. Just hold that gentle pressure for about a minute, and you'll be good to go.
Whatever you do, don't rub the area. That’s a fast track to bruising and irritation. A simple adhesive bandage is all you need to cover it up and keep it clean. You might feel some mild soreness or see a bit of redness, but that should clear up within a day or two.
Responsible Sharps Disposal
This part is absolutely non-negotiable. Never, under any circumstances, toss loose needles or syringes into your regular trash can or recycling bin. This creates a huge risk of injury and infection for sanitation workers, your family, or even your pets.
The only safe way to handle used sharps is with an FDA-cleared sharps container. These are tough, puncture-resistant plastic boxes with a secure lid. As soon as you're done, the used syringe and needle go straight into this container—no exceptions.
A critical part of at-home TRT is understanding its broader context. In 2024, North America represented nearly 48% of the global testosterone replacement therapy market, partly due to the widespread adoption of convenient methods like self-injection. This growth highlights the importance of safe at-home practices. You can discover more insights about the TRT market.
Once your sharps container is about three-quarters full, it's time to dispose of the whole thing. How you do this depends on where you live, but you’ve got a few solid options:
- Local Drop-Off Sites: Many communities have designated collection points. Check with local hospitals, pharmacies, or public health departments.
- Mail-Back Programs: Some companies will send you a container and a pre-paid shipping box. When it's full, you just mail it off to a proper disposal facility.
Always check with your local waste management authority to confirm the approved methods in your area. This final step protects your community and officially completes your safe injection protocol.
Common Questions About Testosterone Injections
Even when you've got your technique down, questions are going to pop up as you start doing your own testosterone injections. Real-world situations happen, and knowing how to handle them calmly is what builds long-term confidence. Think of this section as your go-to guide for troubleshooting the most common concerns.
We'll walk through everything from minor post-injection hiccups to practical tips that just make the whole process smoother. The goal here is to give you clear, straightforward answers so you can have peace of mind and know the difference between what’s normal and what might need a doctor’s attention.
What If I See Blood After My Injection?
Seeing a tiny drop of blood at the injection site is completely normal. Don't panic. It just means you nicked a tiny blood vessel (a capillary) on the way in or out. It happens to everyone from time to time, no matter how experienced you are.
Here’s exactly what to do:
- Apply Gentle Pressure: Grab a sterile piece of gauze and apply light, steady pressure to the area for about 30-60 seconds.
- Don't Rub: Avoid the urge to rub or massage the spot. That can actually cause more bruising.
- Cover It: Once the bleeding stops, a simple adhesive bandage is all you need to keep the area clean.
Now, if you ever have bleeding that doesn't stop with gentle pressure, that’s a different story. In that very rare case, you should get in touch with your healthcare provider for guidance.
Managing Post Injection Soreness
A little bit of muscle soreness or tenderness after an injection is also very common, especially when you're just starting out. We often call this Post-Injection Pain (PIP), and it usually feels like you’ve had a solid workout in that one specific spot.
A few things can influence how sore you get:
- Injection Speed: Pushing the oil in too quickly can stretch the muscle tissue and cause more irritation. Aim for a slow, steady push over 20-30 seconds.
- Needle Gauge: While a thinner needle is more comfortable going in, your technique is what really matters for post-injection comfort.
- Tense Muscles: Injecting into a relaxed muscle is a world of difference from injecting into one that's tensed up. Take a deep breath and let the muscle go limp before you start.
A normal level of soreness is just a dull ache that fades away within a day or two. However, if you experience severe pain, significant swelling, warmth at the site, or signs of infection like a fever, you need to contact your doctor immediately. This is a critical part of a safe TRT protocol. For a deeper dive, you might be interested in learning about why monitoring your testosterone replacement therapy is important.
Tips for Traveling With Your TRT Supplies
Traveling with your TRT supplies just takes a little bit of planning, but it's totally manageable. The number one rule is to never put your testosterone or syringes in checked luggage. Always keep your medication with you in your carry-on.
To make your trip through airport security a breeze, follow these steps:
- Keep your testosterone in its original box with the pharmacy label clearly visible.
- Bring a copy of your prescription or a letter from your doctor explaining your need for the medication and supplies.
- Pack all your supplies—needles, syringes, alcohol pads—together in a clear, sealable bag.
- Throw in a small, travel-sized sharps container for safe disposal while you're away.
A little bit of preparation turns traveling with your TRT into a complete non-issue.
At Elite Bioscience, we provide the guidance and high-quality therapies you need to manage your health with confidence. Take control of your well-being today by exploring our tailored treatment options at https://elitebioscience.co.